A faulty lambda sensor immediately activates the engine warning light and disrupts the fuel mixture, which leads to increased consumption and higher emissions. This problem can appear out of the blue or arise after work on the exhaust or catalytic converter. Do you want to know how to recognise this and what you can do about it?
What exactly does a lambda sensor do?
The lambda sensor (sensor in the exhaust system that measures the oxygen content), also called an O2 sensor (oxygen sensor in the exhaust), measures the oxygen level in the exhaust gases. The sensor sends this information to the engine control unit, which then adjusts the fuel-air mixture to the optimum setting. Modern cars usually have two lambda sensors: one before the catalytic converter and one after it. The front sensor actively controls the mixture, while the rear one checks whether the catalytic converter is working properly.
To function correctly, the sensor must reach a temperature of 600°C. That is why every lambda sensor has a built-in heating element. This element quickly heats the sensor to the correct operating temperature, so that the engine can deliver clean emissions even on short journeys.
Recognisable symptoms of a faulty lambda sensor
The engine warning light is the most striking sign, but there are more symptoms that point to a problem with the lambda sensor. You can often feel these issues before the light comes on.
- Rough idling or an irregular engine speed
- Reduced engine performance with flat spots during acceleration
- Noticeably higher fuel consumption
- Black smoke from the exhaust
- Hesitation, where the engine stutters when pulling away
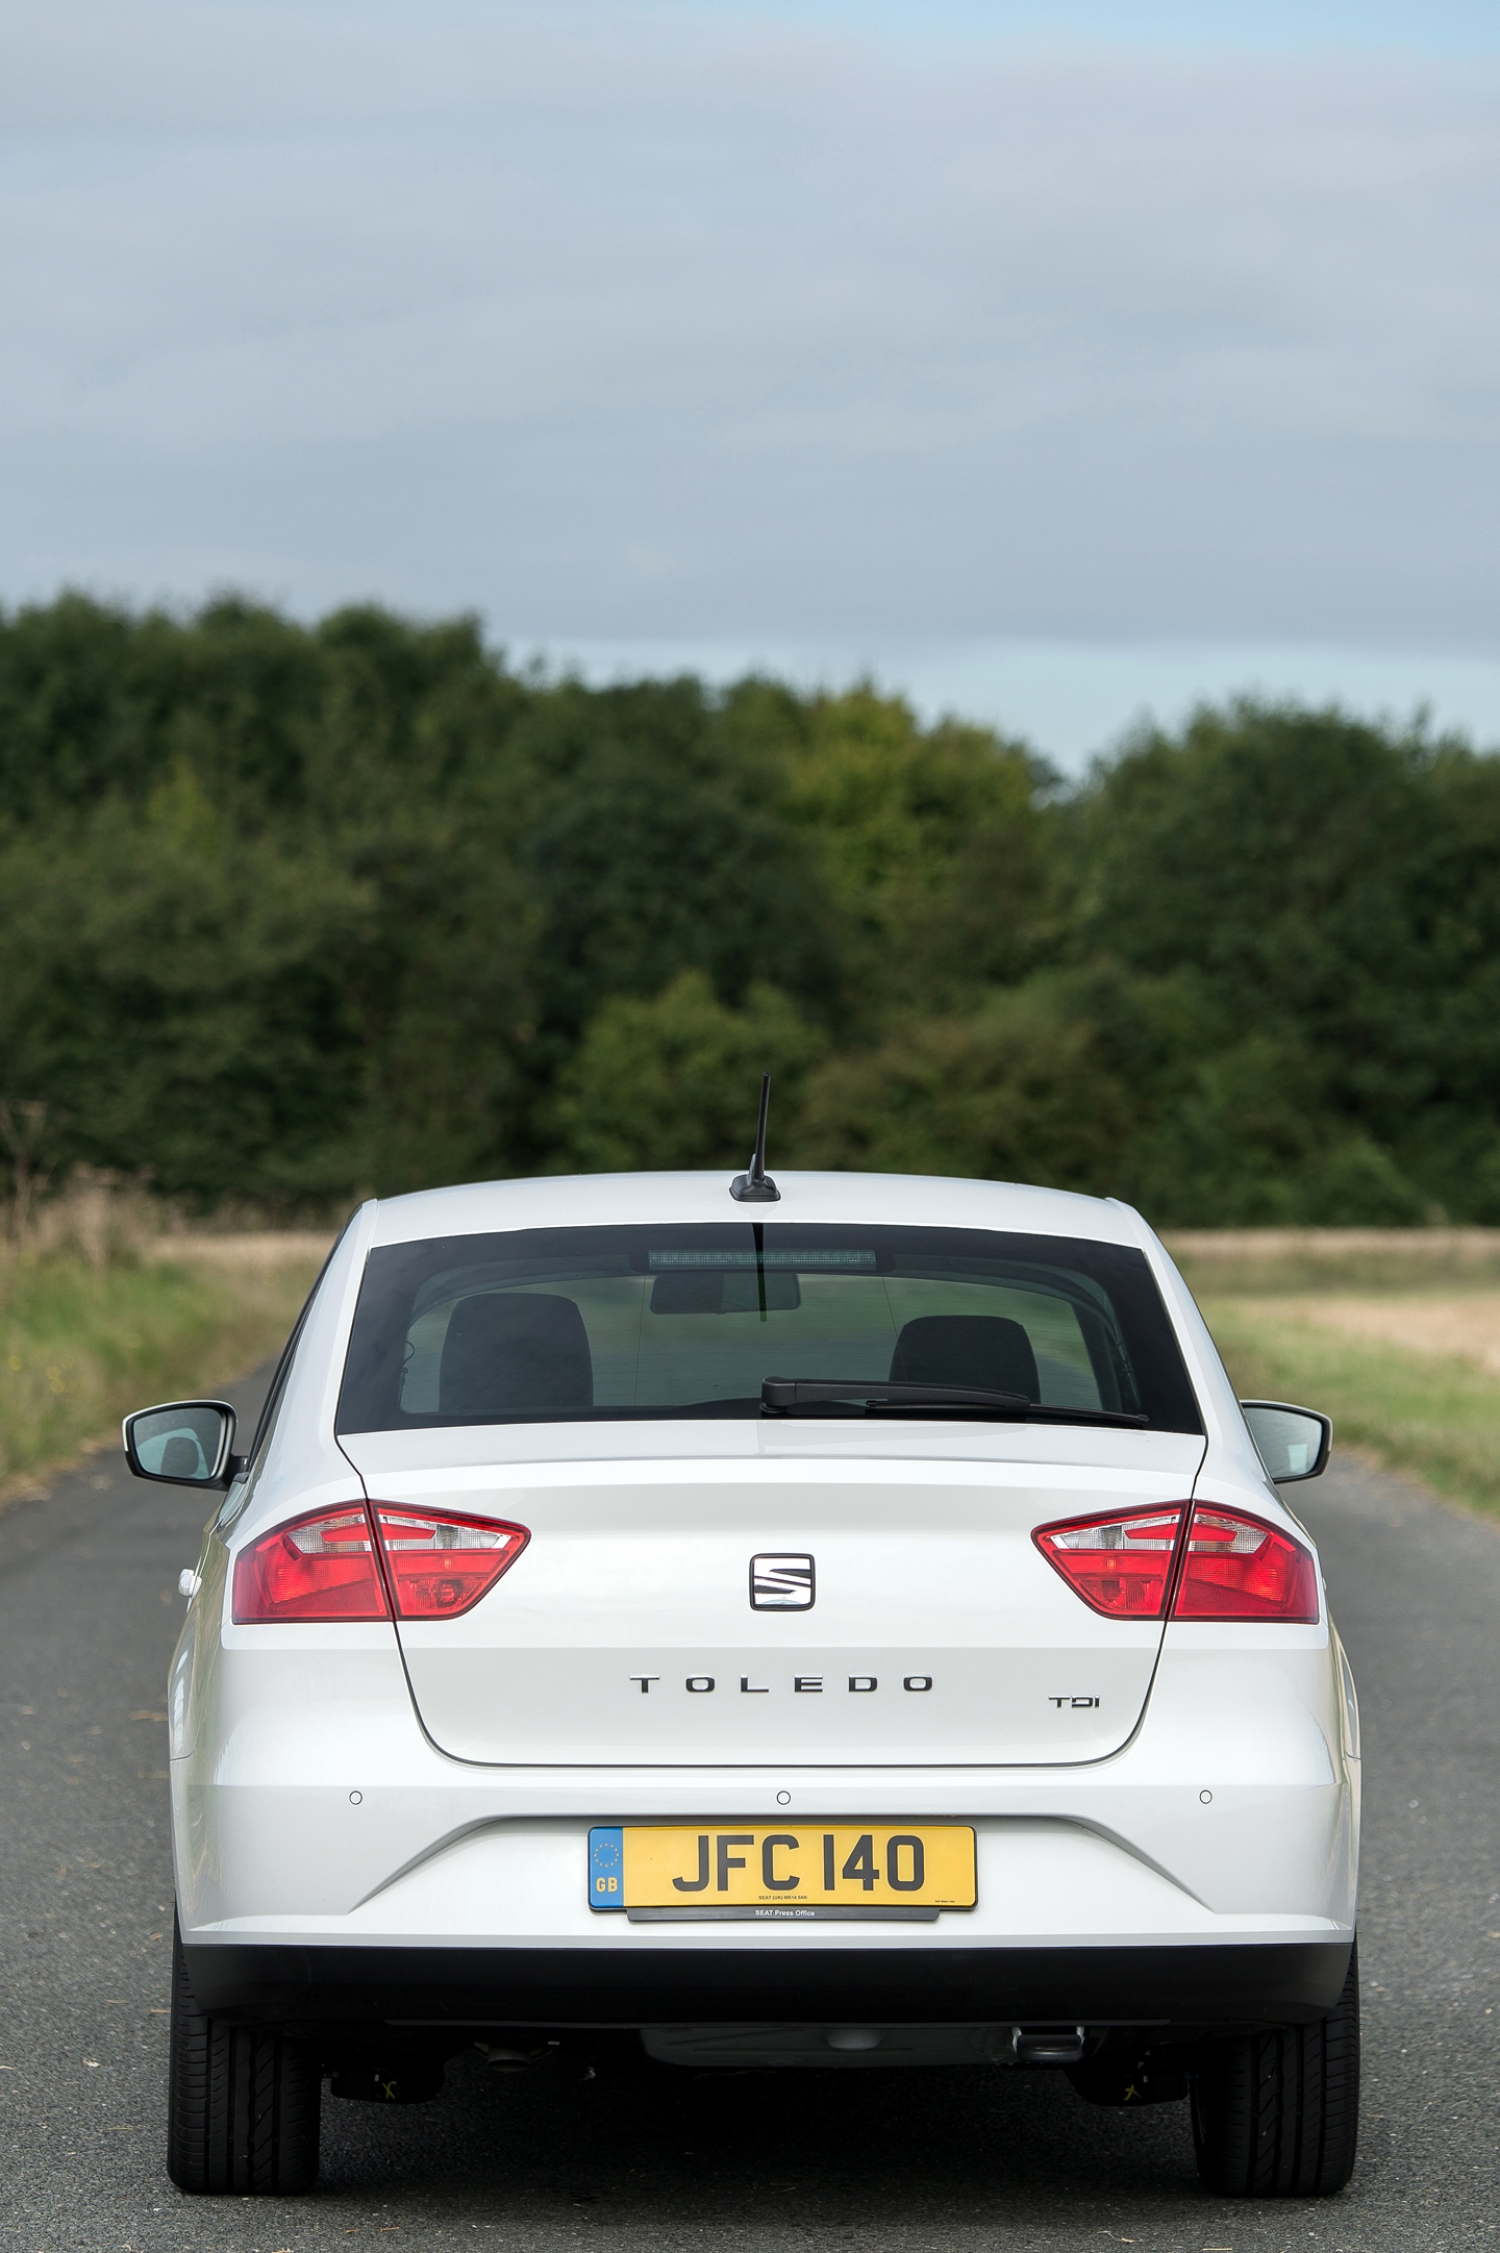
In models such as the Seat Toledo the light sometimes stays on after the sensor has been replaced. This often points to a problem with the wiring or a second sensor that also needs attention.
Common fault codes with lambda sensor problems
An OBD2 scanner (diagnostic tool that reads the car’s fault codes) shows specific fault codes that indicate exactly where the problem lies. The most common codes are P1116, P1103, P0171 and 16555, which point to a mixture that is too lean or a sensor that does not heat up. Fault code P0141 indicates that the heating circuit is defective, often due to a broken heater, damaged wiring or a blown fuse.
These codes can also be caused by clogged sensors, exhaust leaks or a PTC heater (heating element whose resistance increases at higher temperature). In that case it does not function properly. Do not ignore these signals, because a faulty lambda sensor will eventually damage the catalytic converter.

Testing the lambda sensor yourself
With an OBD2 scanner and a multimeter you can check a lambda sensor quite easily. First check the live data in the scanner. A healthy sensor fluctuates between 0.1 and 0.9 volts with a warm engine. If the value remains constant or the sensor responds slowly, it needs to be replaced.
Use a multimeter to measure the resistance and current draw of the heating element. PTC heaters increase their resistance as they warm up, which is normal. Also check all fuses, wiring and connectors between the sensor and the engine control unit. Test these connections for continuity to avoid unnecessarily replacing a sensor when the wiring is actually the problem.
Costs and replacing a lambda sensor yourself
The price of a new lambda sensor is between 50 and 150 euros, depending on the make and type. Garages usually charge between 100 and 250 euros for labour, which means the total bill can rise to 400 euros. By replacing the sensor yourself, you can easily save 200 euros or more.
Ideally, replace the sensor with a cold engine. First disconnect the battery. Then remove any heat shielding around the exhaust. Unplug the connector and unscrew the sensor using a special O2 sensor socket. Clean the thread in the exhaust and apply copper grease, but avoid the sensor wires. Fit the new sensor with a tightening torque of 40 to 50 Nm and then erase the fault codes from the engine control unit.
‘ Do not drive around for months with an active fault, as this increases wear on expensive components. ’
Are you allowed to drive with a broken lambda sensor?
Continuing to drive with a faulty lambda sensor is possible, but not sensible. The engine switches to a standard mixture that is often too rich, causing fuel consumption to increase and emissions to rise. In the long run this damages the catalytic converter, which means a much more expensive repair.
You also run the risk that your car will fail the APK (periodic vehicle inspection in the Netherlands) due to excessively high emissions. Therefore, schedule a repair within a few weeks. Do not drive around for months with an active fault, as this increases wear on expensive components.

Prevention and maintenance tips
Lambda sensors have a limited lifespan and wear out after 100,000 to 150,000 kilometres. When carrying out work on the catalytic converter, it is wise to replace both sensors straight away, especially on older cars. With VAG engines such as the 1.8T and TSI, always use OEM parts for optimum compatibility with the engine control unit.
Experience shared on forums shows that wiring is often the culprit when the light stays on after replacement. Therefore always check the cables and connectors before ordering a new sensor. With lean codes it is sensible to check both lambda sensors, as they often cause problems in combination.
On the Carnews website you will find much more information about engine problems, maintenance schedules and practical repair tips for various car makes. Discover more articles and expand your knowledge of cars and technology.
Frequently asked questions
A lambda sensor measures the oxygen content in the exhaust gases so that the engine control unit can continuously adjust the air-fuel mixture. This keeps the mixture as close as possible to the ideal ratio (stoichiometric), which ensures optimum combustion. That is crucial for good engine performance, low fuel consumption and limited emissions. With a faulty lambda sensor the engine often runs roughly, consumption increases and the catalytic converter can be damaged.
In addition to the engine warning light, an irregular or rough idle speed and noticeable loss of power or “hesitation” when accelerating can also indicate a faulty lambda sensor. In addition, fuel consumption often increases and black smoke may come from the exhaust.
You can usually continue driving for a short period with an illuminated engine warning light due to a lambda sensor fault, but the problem must be resolved as soon as possible. The engine often runs too rich or too lean, which leads to higher fuel consumption, poorer performance and possibly rough running. Driving for a long time like this can damage the catalytic converter and cause other engine damage or extra wear. So have the fault read quickly and fix the cause (sensor, wiring or exhaust leak).
The most common causes of a lambda sensor fault are ageing/wear of the sensor, defective heating circuits in the sensor, damaged or corroded wiring/connectors and exhaust leaks that disrupt the measurement. A contaminated or incorrect fuel-air mixture (for example due to unmetered air or a fuel problem) can also cause the sensor to generate fault codes. As preventive measures you can ensure timely replacement around 100,000–150,000 km, regularly check for exhaust leaks and inspect the wiring loom/fuses visually and electrically. When replacing, preferably use OEM-quality sensors and always clear the fault codes with an OBD scanner after installation.
The costs for having a lambda sensor replaced are usually between about €200 and €450, depending on the make, model and hourly rate of the garage (part often €80–€200, the rest labour). There are clear quality differences: original (OEM) or premium-brand sensors (e.g. Bosch, Denso, NGK) are more expensive but generally more reliable and last longer than universal or cheap aftermarket sensors. Cheap sensors can trigger fault codes more often or have a shorter lifespan, which makes them more expensive in the long run. Always have the quote specify which brand/quality of sensor will be fitted.
For an experienced DIY car enthusiast, replacing a lambda sensor is in many cases a feasible job, provided you have the right tools (such as a special O2 sensor socket), access to the sensor and basic knowledge of automotive electrics. You must be able to work safely with a cold exhaust, disconnect the battery and fit the correct sensor with the right tightening torque. However, seized sensors, hard-to-reach locations and possible wiring or ECU problems can make the work more complex. If you are unsure about the diagnosis, wiring or the read/reset step, a garage is the safer choice.