A faulty light switch causes flickering lights, problems with the lighting and sometimes even blown fuses. This common problem is relatively easy to solve with affordable replacement parts and some basic knowledge of wiring. Here you can find out what you need and how to work safely.
what are the symptoms of a broken light switch
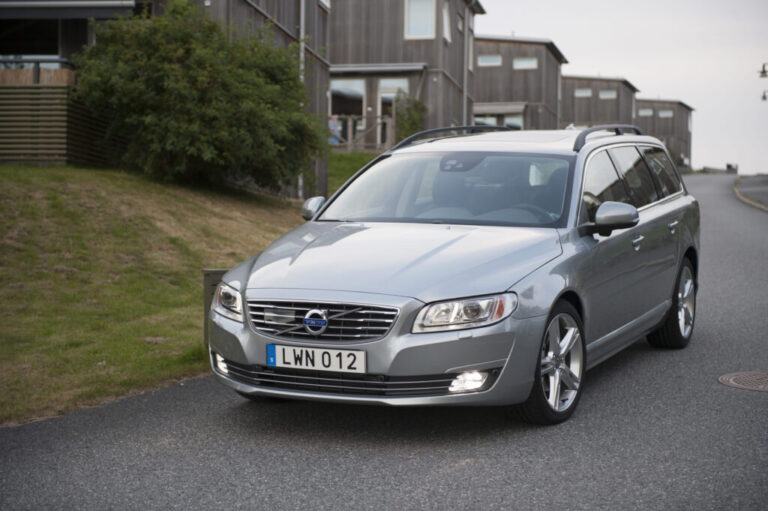
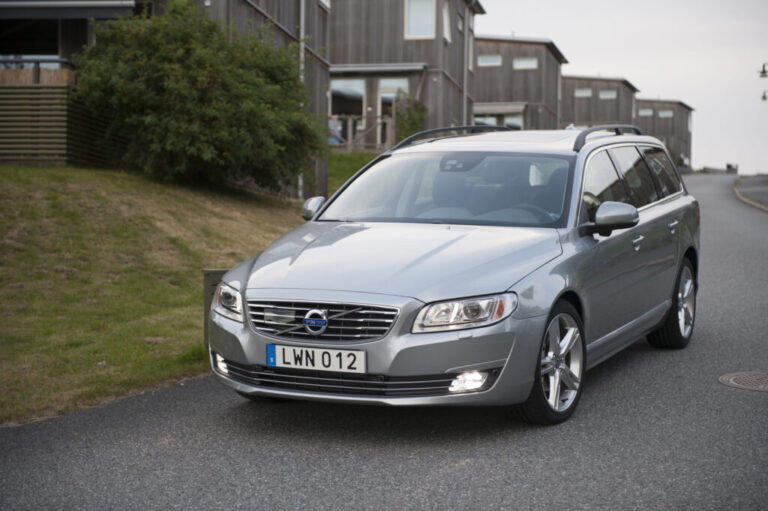
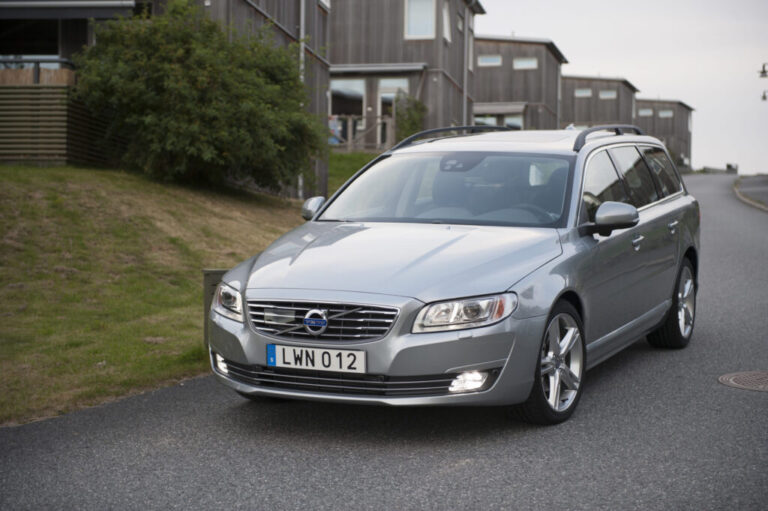
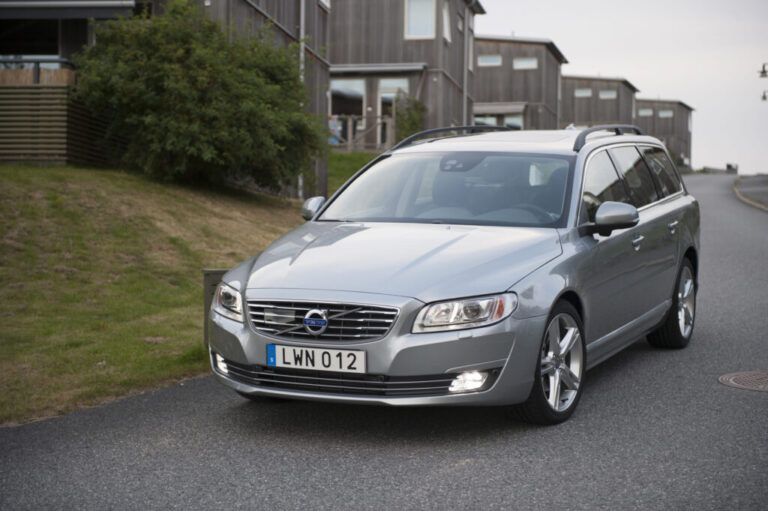
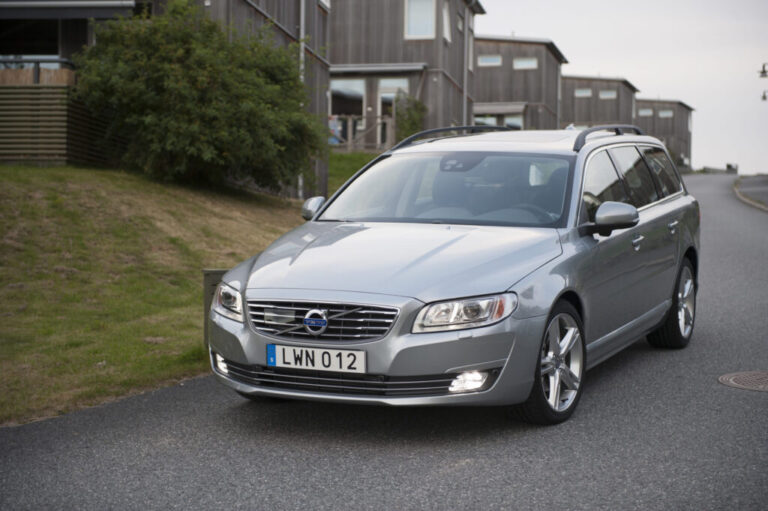
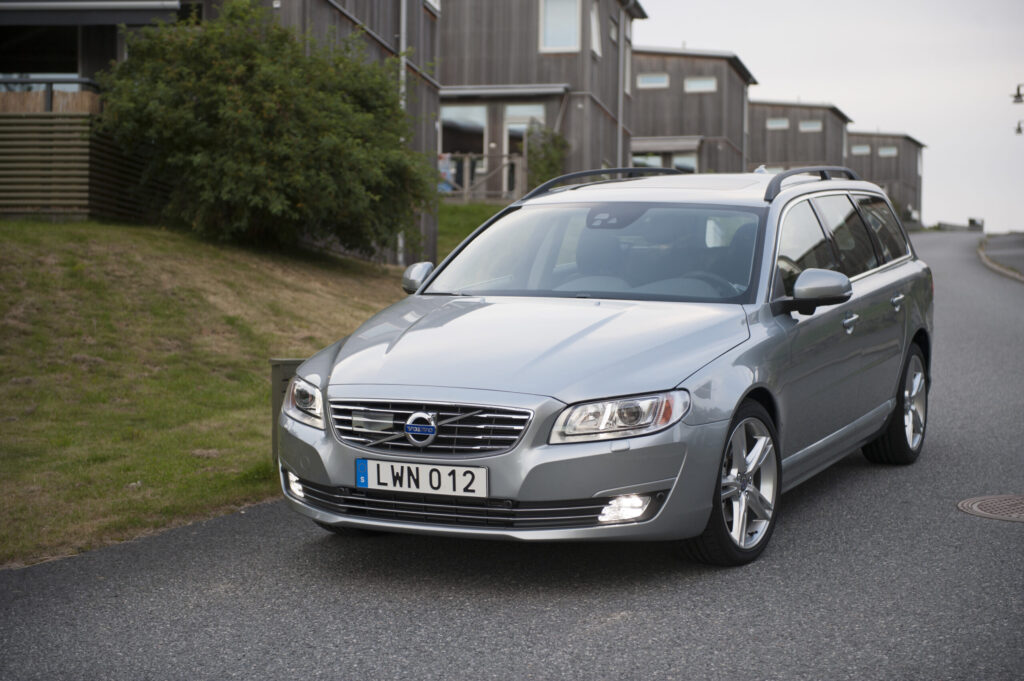
A light switch that is failing usually shows clear signs. The lighting no longer works, flickers irregularly or responds slowly when operated. Sometimes the switch only works in certain positions or feels loose. In older models, such as the Volvo V70, wear and corrosion on the contacts are often the cause of these kinds of faults.
Other signs that point to a defective switch include heat build-up around the switch, a burning smell or an audible click without the light responding. In some cases the fuse blows and the entire lighting circuit stops working. This can indicate a short circuit in the switch or poor wiring.
Besides the switch itself, loose earth connections, corroded plugs or broken wires caused by vibrations can produce the same symptoms. It is therefore sensible to first check the entire chain before replacing the switch.
how do you replace a light switch step by step
Replacing a light switch requires care and the right preparation. The steps below help you work safely and efficiently.
- Disconnect the battery: Always switch off the power by disconnecting the negative terminal of the battery. This prevents short circuits and possible damage to electrical systems.
- Take photos of the wiring: Before disconnecting any wires, take photos of the connections from several angles. This helps when refitting and prevents mistakes.
- Label the wires: Mark each wire with tape or a label so you know exactly which contact it belongs to. Pay attention to colour codes, but do not rely on them blindly in older cars.
- Remove the old switch: Unscrew or unclip the switch according to your car’s installation instructions. Watch out for hidden clips or fixing nuts.
- Check the wires and plugs: Inspect the wiring for wear, corrosion or damaged insulation. Clean contacts if necessary with contact cleaner.
- Install the new switch: Connect the wires according to your photos and labels. Ensure solid connections and use suitable plugs or heat-shrink tubing.
- Test that it works: Reconnect the battery and test the switch under load. Check for heat build-up and that all positions work correctly.
In modern cars, a switch may control a module or relay instead of switching the lamp directly. Always check the wiring diagram for your specific model and year of manufacture.

how much does it cost to replace a light switch
The cost of replacing a light switch varies greatly depending on the make, model and type of switch. A simple on-off switch for interior lighting or accessories usually costs between €10 and €30. An original switch for instrument lighting or a dimmer can go up to €50 to €80.
If you do the job yourself, you only pay for the part and any additional materials such as plugs, heat-shrink tubing or connectors. At a garage or specialist, labour costs are added on top of the part. Expect an hourly rate of €60 to €100, depending on the workshop. Simple replacements often take less than an hour.
Higher costs may arise if additional work is needed, such as repairing damaged wiring, replacing relays or tracking down complex electrical faults. In those cases, the total price can rise to several hundred euros.
which types of switches are used in a car
Cars use different kinds of switches, each with a specific function. The choice of the right type depends on the application and the load.
- On-off switch: The simplest switch for interior lighting, reading lights or extra accessories. It switches a circuit directly on or off.
- Toggle switch: Recognisable by its rocking mechanism, often used for additional lighting such as work lights or LED strips. Suitable for 12 V circuits with low to medium loads.
- Push button switch: Works as a momentary switch and only closes a circuit while you press the button. Used for horns, start buttons or temporary functions.
- Dimmer: Adjusts the brightness of dashboard or instrument lighting by varying resistance or pulse width. Requires compatible lighting.
- Relay-controlled switch: For high-consumption items such as additional headlights or fog lights, the switch controls a relay instead of switching the lamp directly. This prevents the switch from being overloaded.
If in doubt about the right type, it is best to look at the specifications of the original switch. Pay attention to voltage, maximum current and the number of contacts.
‘ In serious cases this can lead to melted housings, burnt wiring or even a fire in the dashboard. ’
can faulty switches pose a danger
A faulty light switch can indeed pose risks. When contacts become damaged or the switch is overloaded, heat is generated. In serious cases this can lead to melted housings, burnt wiring or even a fire in the dashboard.
Signs of overheating include discolouration of the switch, a burning smell or melted plastic around the connection. This suggests that the current is too high for the switch or that the contacts have corroded. In both cases, immediate replacement is necessary.
Short circuits due to poor insulation or loose wires can also be dangerous. They cause blown fuses, sudden loss of lighting and, in the worst case, damage to other electrical systems in the car. Regularly checking switches and wiring helps prevent this.
can I replace a light switch myself
For many car enthusiasts, replacing a light switch themselves is perfectly doable. It requires basic knowledge of electricity, the right tools and careful work following the instructions. For simple on-off switches for accessories or interior lighting, the job is relatively quick.
Before you start, it is important to consult the wiring diagram for your specific model. In modern cars, switches may be part of a complex electrical network with modules, CAN bus communication or relays. In such cases, extra caution is needed and professional help may be required.
If you are unsure about the cause of the fault, it is also sensible to carry out a diagnostic check first. That way you avoid replacing a switch unnecessarily when the problem actually lies in the wiring, earth or fuse. For complex electrical faults, it is better to call in a specialist.
what do you need to know about wiring and connections
Correct wiring is essential for safe and reliable operation of a light switch. With a standard switch you generally deal with three main functions: power supply from the fuse or battery, a switched wire that carries current to the lamp and earth via the bodywork or a separate wire.
When connecting a new switch, solid and well-insulated connections are important. Use suitable plugs, heat-shrink tubing or OEM-style connectors instead of loosely twisted wires or just insulating tape. This prevents wires working loose, corrosion and voltage drop.
Also pay attention to the load on the switch. At higher currents, for example with additional headlights or LED bars, a relay is necessary. The relay takes over the heavy load and is controlled by the switch with a low current. Do not forget to include a separate fuse in new accessory circuits.
common mistakes when replacing switches
The same mistakes are made regularly when replacing a light switch. These can lead to faults, damage or even dangerous situations. The most common pitfalls are:
- Using a switch that is too light for a heavy load, causing overheating.
- Not fitting a fuse in a new accessory circuit, which can cause a fire in the event of a short circuit.
- Cutting wires without marking or a diagram, making it difficult or impossible to reconnect them correctly.
- Relying on wire colours without checking, while previous repairs may have used different colours.
- Poor earth connection, leading to intermittent faults or flickering lights.
- Connecting directly to a circuit that is already heavily loaded, causing voltage drop and faults.
By recognising and avoiding these pitfalls, you increase the chances of a successful and long-lasting repair. Take the time to inspect the wiring carefully and document every step during the replacement.
On the Carnews website you will find many more practical tips and information about electrical systems, maintenance and faults in different car brands. Discover more about car problems and learn how to maintain your car yourself.
Frequently asked questions
For cars there are, among others, simple on/off light switches, dimmers for dashboard or interior lighting, toggle switches for extra lamps/accessories, push buttons (momentary) and circuits that operate via a relay or electronic module. Always choose a type that can handle the required power (current) and use a relay for high-consumption devices. Match the switch to the vehicle voltage (usually 12 V) and pay attention to suitable connectors and mounting size for your model or project. For vehicle-specific projects, always consult the electrical diagram of your car so that the functions and wiring match.
Always switch off the power first by disconnecting the battery and make sure you have the correct electrical diagram of the car to hand. Document and label the existing wiring (for example with photos) before disconnecting the old light switch and wires. Use a replacement switch and wiring suitable for the voltage and current, with solid connectors and good insulation, and include a relay and fuse if necessary. Reconnect everything according to the diagram and test the lighting under load to check it works correctly, without excessive heat build-up or flickering.
Use a multimeter or test lamp to check whether there is voltage on the feed and switched wire of the light switch and whether the earth is good; always start by disconnecting the battery. Visually inspect the wiring and plugs for damage, loose connections and oxidation and gently move the cables to detect intermittent faults. With a wiring diagram you can then follow the power path and rule out sections by measuring point by point. Essential tools include at least: a multimeter or test lamp, screwdrivers, possibly needle-nose pliers, heat-shrink tubing and suitable connectors for repairing connections.
Yes, there are performance and aesthetic upgrades possible when replacing a light switch, such as using a more heavy-duty switch (in combination with relays) for additional or more powerful lighting and fitting more modern, attractive or illuminated switches that suit the interior. Aesthetic options include switches with different shapes (toggle, push or rocker switches), different materials or illuminated symbols. For custom wiring, you can install separate, fused power feeds for extra lighting or accessories, often via a relay so the current does not flow through the switch itself. This also involves using suitable cable sizes, solid connectors and a well-chosen earth point for a reliable and safe installation.
Reliable, model-specific wiring diagrams can be found in the manufacturer’s official workshop documentation (for example VIDA for Volvo) or in Haynes-/Autodata-type workshop manuals. In addition, make- and model-specific forums and clubs often provide original diagrams or extracts, shared by other owners. Ideally, use diagrams for exactly your year of manufacture, engine and trim to keep colour codes and pin layouts correct. Always combine the diagram with actually labelling and photographing the existing wiring before you disconnect anything.